Fix DNS Leak: Clear Privacy Guide
fix dns leak: clear guide, checks, and next steps.
Quick Answer
To fix DNS leak issues, you need to verify that DNS queries route through your intended privacy layer rather than your ISP’s default resolver. Start by running a DNS leak test before and after configuring your VPN or privacy tool. The goal is to confirm that the DNS resolver visible in test results matches your VPN provider’s infrastructure, not your ISP. However, fixing a DNS leak addresses only one privacy signal—it does not hide account logins, browser fingerprints, or application-level tracking. This guide walks through how to fix DNS leak problems on different platforms, interpret test results correctly, and understand which privacy gaps remain even after DNS is properly configured.
What a DNS Leak Actually Reveals
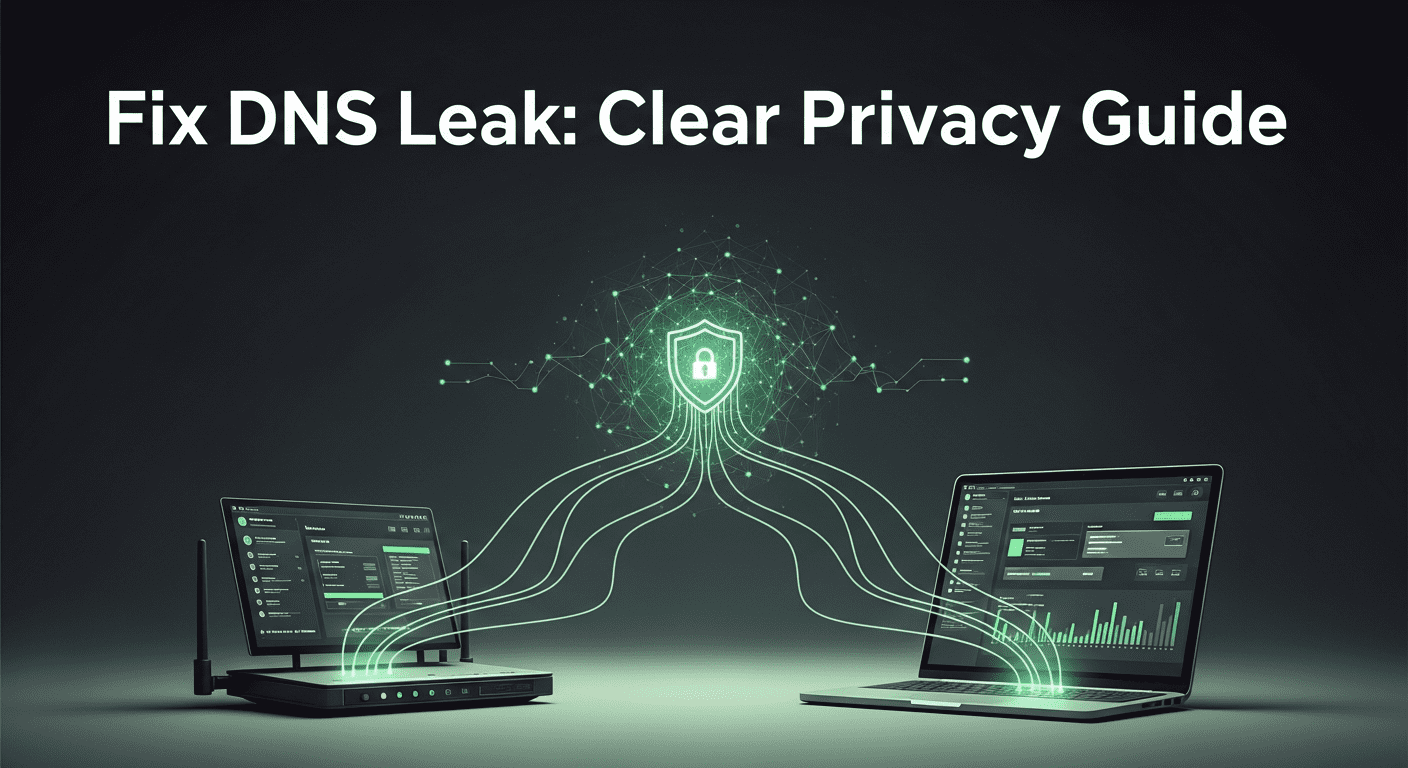
A DNS leak occurs when DNS queries bypass your VPN tunnel and reach your ISP’s resolver instead. This matters because DNS queries reveal which domains you visit, even when the content of those visits is encrypted. Your ISP can log these queries, build a profile of your browsing habits, and in some jurisdictions share or sell that data.
When you visit a website, your device translates the domain name into an IP address through a DNS lookup. If that lookup goes to your ISP’s DNS server while your web traffic goes through a VPN, you have created a split where one signal shows your real ISP connection and another shows the VPN endpoint. This split is what most people mean when they search for how to fix DNS leak problems.
The leak does not expose the full content of encrypted HTTPS sessions, but it does show timing, frequency, and domain patterns. That metadata can be surprisingly revealing, especially when combined with other signals like account logins or browser fingerprints.
How to Test for DNS Leaks
Before you attempt to fix DNS leak issues, you need a reliable baseline. Run a DNS leak test while disconnected from any VPN or privacy tool. Note which DNS servers appear—these are typically your ISP’s resolvers or public DNS services you configured manually. Then connect to your VPN and run the same test again.
A clean result shows only DNS servers that belong to your VPN provider or a trusted third-party DNS service you explicitly configured. If you see your ISP’s DNS servers in the results while connected to a VPN, you have a leak. For a detailed explanation of what these tests measure, see our guide on what is a DNS leak.
Run the test multiple times over several minutes. Some leaks are intermittent, appearing only during connection drops, network changes, or when certain applications bypass the VPN tunnel. A single clean test is not enough to confirm that DNS is always routed correctly.
What the Test Results Mean
DNS leak tests show which resolvers answered your queries during the test window. They do not show every DNS query your system has made, nor do they prove that all applications on your device use the same DNS path. Browser-based tests capture only the DNS behavior visible to that browser session.
If the test shows a mix of your VPN’s DNS servers and your ISP’s servers, you have a partial leak. This often happens when IPv6 is enabled but not routed through the VPN, or when the operating system falls back to a secondary DNS server during a timeout. Both scenarios require specific fixes.
How to Fix DNS Leak on Windows
Windows systems are prone to DNS leaks because of how the operating system handles multiple network interfaces and DNS server priority. When a VPN connects, Windows may still send some DNS queries to the physical network adapter’s configured servers instead of routing everything through the VPN’s virtual adapter.
Disable IPv6 if Not Supported by Your VPN
Many VPNs do not route IPv6 traffic, which means IPv6 DNS queries can leak even when IPv4 traffic is protected. Open Network Connections, right-click your active network adapter, select Properties, and uncheck Internet Protocol Version 6 (TCP/IPv6). Repeat this for both your physical adapter and your VPN adapter. After disabling IPv6, restart your connection and retest.
Configure DNS Servers Manually on the VPN Adapter
Open Network Connections, right-click your VPN adapter, select Properties, then double-click Internet Protocol Version 4 (TCP/IPv4). Choose “Use the following DNS server addresses” and enter your VPN provider’s DNS servers. If your provider does not publish DNS addresses, use a privacy-focused public DNS like 1.1.1.1 or 9.9.9.9. Click Advanced, go to the DNS tab, and uncheck “Register this connection’s addresses in DNS.” This prevents Windows from leaking local DNS registration data.
Set Network Interface Metric Priority
Windows uses interface metrics to decide which network path to prefer. Open an elevated Command Prompt and type route print to see current metrics. Your VPN adapter should have a lower metric than your physical adapter. If it does not, open Network Connections, right-click the VPN adapter, select Properties, double-click Internet Protocol Version 4, click Advanced, uncheck “Automatic metric,” and set the metric to 1. This forces Windows to prefer the VPN path for all traffic, including DNS.
Flush the DNS Cache
After making configuration changes, flush the DNS cache to clear any stale resolver entries. Open Command Prompt as administrator and run ipconfig /flushdns. Then disconnect and reconnect your VPN. Run a DNS leak test again to confirm the changes worked.
How to Fix DNS Leak on macOS
macOS handles DNS differently than Windows, but leaks can still occur, especially when using third-party VPN clients or when the system falls back to ISP DNS during network transitions.
Flush the DNS Cache
Open Terminal and run sudo dscacheutil -flushcache; sudo killall -HUP mDNSResponder. Enter your password when prompted. This clears cached DNS entries and restarts the DNS responder service. Reconnect your VPN and retest.
Disable IPv6 on the Active Interface
Open System Preferences, go to Network, select your active connection (Wi-Fi or Ethernet), click Advanced, go to the TCP/IP tab, and set Configure IPv6 to “Link-local only” or “Off.” Apply the changes, reconnect your VPN, and verify with a DNS leak test.
Use VPN Client DNS Settings
Most macOS VPN clients include a DNS leak protection option. Open your VPN client settings and look for options like “Use VPN DNS servers only” or “Prevent DNS leaks.” Enable these options, reconnect, and test. If your client does not offer this feature, consider switching to a provider that does or use a manual configuration profile that enforces DNS routing.
How to Fix DNS Leak on Linux
Linux users have more control over DNS routing, but that also means more opportunities for misconfiguration. The fix depends on whether you use NetworkManager, systemd-resolved, or manual configuration files.
Configure DNS in NetworkManager
If you use NetworkManager, edit your VPN connection profile. Open the connection editor, select your VPN, go to the IPv4 Settings tab, change Method to “Automatic (VPN) addresses only,” and add your VPN provider’s DNS servers in the DNS servers field. Save and reconnect. Verify with systemd-resolve --status or resolvectl status to confirm the active DNS servers.
Disable systemd-resolved Fallback
systemd-resolved can fall back to local or ISP DNS servers if the VPN DNS times out. Edit /etc/systemd/resolved.conf and set FallbackDNS= to an empty value. Restart the service with sudo systemctl restart systemd-resolved. This prevents fallback behavior that can cause intermittent leaks.
Use iptables to Block Non-VPN DNS
For strict enforcement, use iptables to block all DNS traffic except through the VPN interface. Run sudo iptables -A OUTPUT -p udp --dport 53 -o the physical network interface -j REJECT and sudo iptables -A OUTPUT -p tcp --dport 53 -o the physical network interface -j REJECT, replacing the physical network interface with your actual interface name like eth0 or wlan0. This forces all DNS queries through the VPN or blocks them entirely. Be cautious—this can break connectivity if the VPN drops.
How to Fix DNS Leak on Android
Android DNS leaks often occur because of Private DNS settings or because mobile apps bypass the VPN tunnel. Android 9 and later include a Private DNS feature that can override VPN DNS settings.
Disable Private DNS
Go to Settings > Network & Internet > Advanced > Private DNS. Select “Off” instead of “Automatic” or a specific provider. This prevents Android from using DNS-over-TLS outside the VPN tunnel. Reconnect your VPN and retest using a mobile browser.
Enable Always-On VPN and Block Connections Without VPN
Go to Settings > Network & Internet > VPN, tap the gear icon next to your VPN profile, enable “Always-on VPN,” and enable “Block connections without VPN.” This forces all traffic, including DNS, through the VPN or blocks it entirely. Note that this can prevent connectivity if the VPN disconnects unexpectedly.
Check App-Level VPN Bypass
Some VPN apps allow per-app split tunneling, which can cause DNS leaks for excluded apps. Open your VPN app settings and review the split tunneling or app exclusion list. Disable split tunneling or ensure that browsers and DNS-sensitive apps are not excluded.
How to Fix DNS Leak on iOS
iOS is more restrictive than Android, which generally reduces leak risk, but configuration issues can still occur, especially with third-party VPN apps or manual profiles.
Use VPN Apps with DNS Leak Protection
Choose a VPN app that explicitly supports DNS leak protection on iOS. Check the app settings for options like “Use VPN DNS only” or “Block local DNS.” Enable these options and reconnect.
Disable iCloud Private Relay
iCloud Private Relay can interfere with VPN DNS routing. Go to Settings > [Your Name] > iCloud > Private Relay and turn it off while using a VPN. Private Relay routes some traffic through Apple’s infrastructure, which can create DNS mismatches.
Reinstall the VPN Profile
If DNS leaks persist, delete the VPN profile from Settings > General > VPN & Device Management, then reinstall it from your VPN app. This clears any stale configuration that might cause DNS to bypass the tunnel.
Common Causes of DNS Leaks
| Cause | Why It Happens | How to Fix It |
|---|---|---|
| IPv6 not routed through VPN | VPN only tunnels IPv4, leaving IPv6 DNS exposed | Disable IPv6 on all network adapters |
| Operating system DNS fallback | OS uses backup DNS when VPN DNS times out | Configure static DNS on VPN adapter, disable fallback |
| Split tunneling enabled | Some apps or traffic excluded from VPN tunnel | Disable split tunneling or review exclusion list |
| Browser secure DNS enabled | Browser uses DNS-over-HTTPS independent of system DNS | Disable secure DNS in browser settings or configure it to use VPN provider |
| VPN client misconfiguration | Client does not enforce DNS routing | Enable DNS leak protection in client settings |
| Network interface metric priority | Physical adapter has higher priority than VPN adapter | Lower VPN adapter metric to 1 |
What DNS Leak Fixes Do Not Protect
Fixing DNS leaks closes one privacy gap, but it does not create anonymity or hide all tracking signals. Understanding these limits is essential for making realistic privacy decisions.
Account Logins Still Identify You
If you sign into an account after fixing a DNS leak, that service still knows who you are. The account login is a stronger identity signal than your IP address or DNS resolver. Changing DNS routing does not reset account history, cookies, or session tokens.
Browser Fingerprints Remain Stable
Your browser configuration—screen size, installed fonts, extensions, time zone, language, and WebGL data—creates a fingerprint that can persist across network changes. DNS leak fixes do not alter these signals. For high-risk scenarios, use a clean browser profile or a privacy-focused browser in addition to fixing DNS.
Application-Level Tracking Continues
Mobile apps and desktop software often include telemetry, analytics, and tracking SDKs that send data independent of DNS or IP address. Fixing DNS leaks does not prevent apps from reporting device IDs, usage patterns, or location data through their own channels.
WebRTC Can Still Leak Local IP
WebRTC, used by many video chat and browser-based communication tools, can expose your local IP address even when DNS is routed correctly. This is a separate leak that requires browser extensions or settings changes to block. Test for WebRTC leaks separately and disable WebRTC if you do not need it.
How to Verify Your DNS Leak Fix
After applying fixes, run a structured verification process to confirm that DNS queries route as expected and that the fix holds across different scenarios.
Verification Checklist
- Run a DNS leak test while connected to your VPN and confirm only VPN or chosen DNS servers appear
- Disconnect and reconnect the VPN, then retest to check for leaks during connection transitions
- Switch between Wi-Fi and Ethernet (or mobile data) and retest on each network
- Open multiple browsers and test in each to confirm consistent DNS behavior
- Wait a short test window and retest to catch intermittent leaks that appear after initial connection
- Check your public IP using MyIPScan to confirm it matches your VPN endpoint
- Test on different devices if you use the VPN on multiple platforms
Interpreting Mixed Results
If some tests show clean results and others show leaks, you likely have a partial leak caused by split traffic. Check whether IPv6 is still enabled, whether certain apps bypass the VPN, or whether browser secure DNS is active. Isolate one variable at a time and retest after each change.
When DNS Leak Fixes Are Not Enough
DNS leak protection is one layer in a broader privacy strategy. It is most useful when combined with other controls that address different tracking vectors.
Use HTTPS Everywhere
Even with DNS routed through a VPN, unencrypted HTTP traffic can expose page content and form data. Use HTTPS for all sensitive browsing. Most modern browsers warn when a site uses HTTP, but you can enforce HTTPS with browser extensions or settings.
Review Browser Extensions
Extensions can access browsing data, inject tracking scripts, or send telemetry independent of DNS routing. Audit installed extensions, remove unnecessary ones, and review permissions for those you keep. Use extensions only from trusted sources.
Separate Browsing Contexts
Use different browser profiles or containers for different activities. Keep signed-in accounts in one profile and anonymous browsing in another. This limits how much cross-context tracking can occur even when DNS is properly configured.
Monitor for VPN Disconnects
DNS leak fixes are only effective while the VPN is connected. If the VPN drops and your system reconnects to the internet without the tunnel, DNS queries will revert to your ISP. Use a VPN kill switch to block all traffic when the VPN disconnects, preventing both DNS leaks and IP exposure.
Advanced DNS Leak Prevention
For users who need stricter DNS control, advanced configurations offer more robust protection against leaks, though they require more technical setup.
Use a Local DNS Resolver with Forwarding
Run a local DNS resolver like Unbound or dnsmasq that forwards queries only to your VPN provider’s DNS servers. Configure your system to use 127.0.0.1 as the DNS server. This centralizes DNS control and makes it easier to enforce routing policies. You can also configure the resolver to block queries to known tracking domains.
Implement DNS-over-HTTPS or DNS-over-TLS
Encrypt DNS queries using DNS-over-HTTPS (DoH) or DNS-over-TLS (DoT) to prevent ISP inspection even if queries bypass the VPN. Configure your browser or operating system to use a DoH/DoT provider that aligns with your privacy goals. Note that this does not prevent leaks—it only encrypts them—so it should be used alongside VPN DNS routing, not as a replacement.
Use Firewall Rules to Enforce DNS Routing
Configure firewall rules to block all outbound DNS traffic except through the VPN interface. On Linux, use iptables or nftables. On Windows, use Windows Firewall with Advanced Security to create outbound rules that block UDP and TCP port 53 on the physical adapter. This ensures that any DNS query bypassing the VPN is blocked rather than leaked.
FAQ
How do I know if my DNS leak fix worked?
Run a DNS leak test before and after applying the fix. A successful fix shows only your VPN provider’s DNS servers or the privacy-focused DNS service you configured. Your ISP’s DNS servers should not appear in the results. Retest after disconnecting and reconnecting the VPN, switching networks, and waiting several minutes to catch intermittent leaks.
Can I fix DNS leak without a VPN?
Yes. You can configure your system to use privacy-focused public DNS servers like Cloudflare (1.1.1.1), Quad9 (9.9.9.9), or others instead of your ISP’s default DNS. This prevents your ISP from logging DNS queries, though it does not hide your IP address or encrypt your traffic. For stronger privacy, combine custom DNS with a VPN or use DNS-over-HTTPS to encrypt queries.
Why does my DNS leak test show different results each time?
Intermittent leaks can occur during VPN reconnections, network transitions, or when the operating system falls back to secondary DNS servers after a timeout. Some applications may also bypass the VPN tunnel. Run multiple tests over 10 to a short test window and note whether leaks appear consistently or only during specific events like network changes.
Does fixing DNS leaks hide my location?
Fixing DNS leaks prevents your ISP from seeing which domains you query, but it does not hide your approximate location if you are using a VPN. The VPN exit server’s location will appear in IP geolocation lookups, not your physical location. However, other signals like time zone, language settings, and account data can still reveal location information.
Will disabling IPv6 break anything?
Disabling IPv6 rarely breaks functionality for most users because the majority of internet services still support IPv4. However, some enterprise networks, ISPs, or specialized services rely on IPv6. If you experience connectivity issues after disabling IPv6, re-enable it and instead configure your VPN to route IPv6 traffic or use firewall rules to block IPv6 DNS specifically.
Can browser secure DNS cause DNS leaks?
Yes. Browsers like Chrome, Firefox, and Edge include secure DNS (DNS-over-HTTPS) features that can bypass system DNS settings, including VPN DNS. If secure DNS is enabled and configured to use a provider other than your VPN’s DNS, queries will leak outside the VPN tunnel. Disable secure DNS in browser settings or configure it to use your VPN provider’s DoH endpoint if available.